Black walnut trees are prized for their lumber, and their earthy nuts are a favorite winter staple among squirrels and other wildlife. Though some people consider them nuisance trees, other people enjoy having them in their backyard. In this article, we’ll talk about how to plant a black walnut tree, from collecting seeds to planting your seedlings in their permanent home.
What You'll Learn Today
How to Start Black Walnut Trees From Seed
Walnut trees are relatively easy to start from seed; the most time-consuming part is preparing the seeds for planting. Let’s take a closer look at the process:
Gather Seeds
If you already have black walnut trees growing in your area, then you should have no problem finding seeds to plant.
In the fall or early winter, find your nearest black walnut tree and gather up some of the seeds that have fallen. Chances are they’ll be all over the ground in the immediate vicinity of the tree.
Alternatively, you can knock any remaining walnuts off the branches with a telescopic branch holder or by climbing into the tree and shaking the individual branches.
If you don’t have a black walnut tree growing in your area, you may be able to find seeds online.
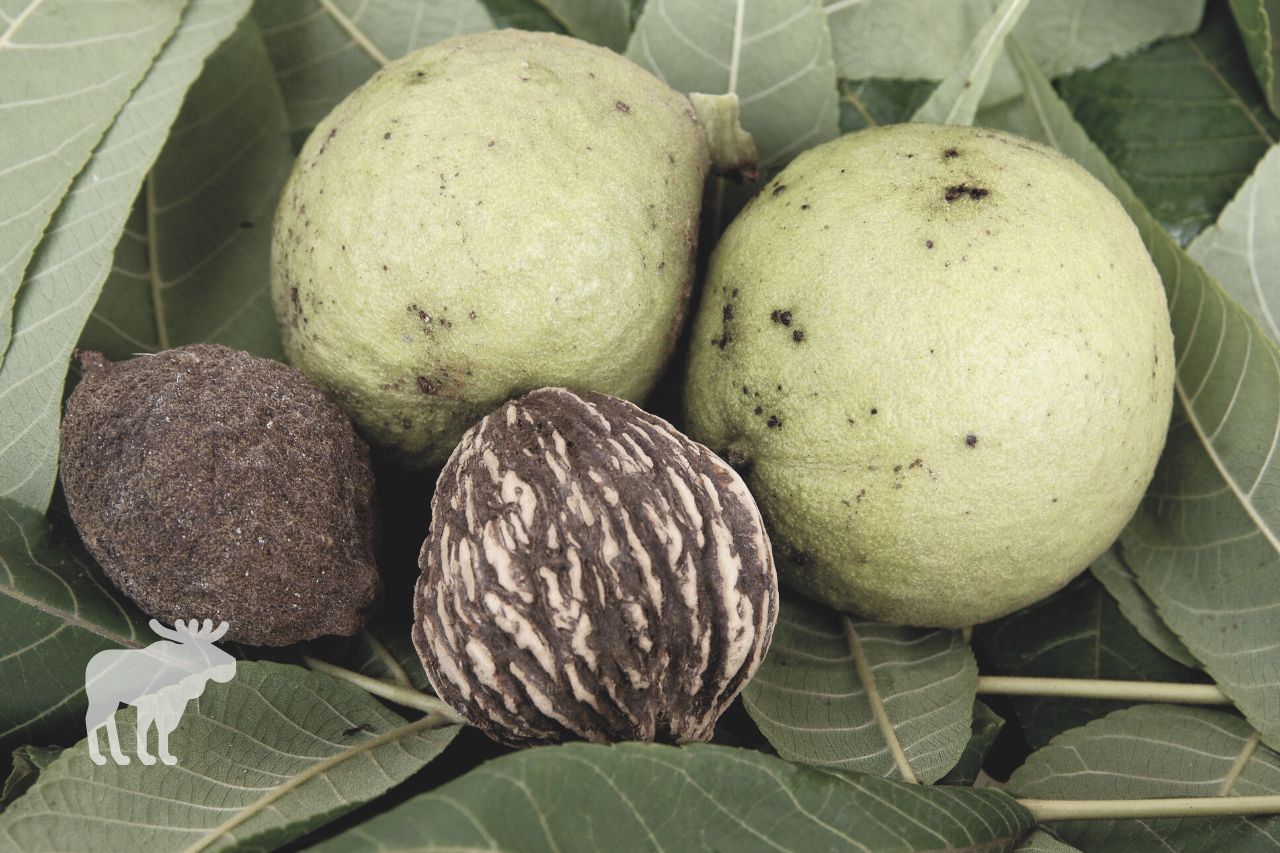
Remove the Husks
Once you have gathered your seeds, it’s time to remove the soft outer husk. This husk will appear green on fresher walnuts and black if the walnuts have been sitting on the ground for a while.
Always wear gloves for this process unless you don’t mind having stained hands for the next few weeks. Black walnut husks are used to make a yellow dye, and this color is extremely difficult to remove from both skin and clothes.
Use a knife to score the husk, then pry off chunks of it until you are left with the hard, ridged seed inside.
Alternatively, you can place your walnuts in a bucket of water, allow them to soak for a couple of days, then pull the husks away from the seeds. Soaking them in water softens them significantly and makes them much easier to work with.
Soak the Seeds
Allow the husked seeds to soak in a bucket of water overnight. This will clean them and will also help you determine which seeds are viable and which ones are not.
Any seeds that float to the top of the water should be thrown out. Seeds that sink to the bottom of the bucket are more likely to sprout.
Stratify the Seeds
If you’re planting your seeds directly in the soil outside, you can skip this step. You’ll want to plant the seeds in late fall or early winter, then cover them with a layer of cloth and mulch to prevent squirrels from digging them up.
If you plan to start your seeds in planters, you will need to stratify them before doing so. Stratifying seeds basically means that you’re mimicking the period of dormancy the seeds would experience naturally while buried in the ground outside.
Place your seeds in resealable bags with perlite or a mixture of peat moss and potting soil. Moisten the mixture, seal the bag, then shake it around to mix the seeds in with the perlite or soil.
Place these bags in a refrigerator. It’s best to have a separate refrigerator for this step rather than placing the bags in your main fridge–the constant opening and closing of the door will allow for temperature fluctuations, and the seeds stratify best when they are kept at a constant temperature and in constant darkness.
Leave your bags of seeds in the fridge for 3 to 4 months. Check on them occasionally and moisten the mixture in the bags if it begins to dry out.
Plant the Seeds
Fill large planters with a mix of potting soil, sand, and compost. Plant one seed per planter at a depth of 4 to 5 inches.
Water the seeds in, fully saturating the soil to a depth of at least 5 or 6 inches–just below the level of the seed.
Place the planters in a sunny location where they will warm to around 85 degrees each day.
Care For the Seedling
The seeds should germinate within 4 to 6 weeks. Move them to a partially shaded location.
As they grow over the next week or two, gradually allow them to transition back to full sun. Water the seedlings whenever the top inch or so of the soil begins to dry out.
Keep the seedling outside as much as possible, though try to shield it from storms, high winds, and extreme temperatures. Keep it in a sunny location throughout the summer.
To learn more about starting a walnut tree from seed, check out the following video:
How to Plant a Black Walnut Tree Seedling?
Black walnut trees develop a deep taproot which can make transplanting difficult. For this reason, it’s important to transplant your black walnut seedling to its permanent location within the first year of its life, when its trunk is ¼ to ⅜ of an inch in diameter.
The best time to plant is in the late fall or winter. Here’s the step-by-step process:
Choose Your Location
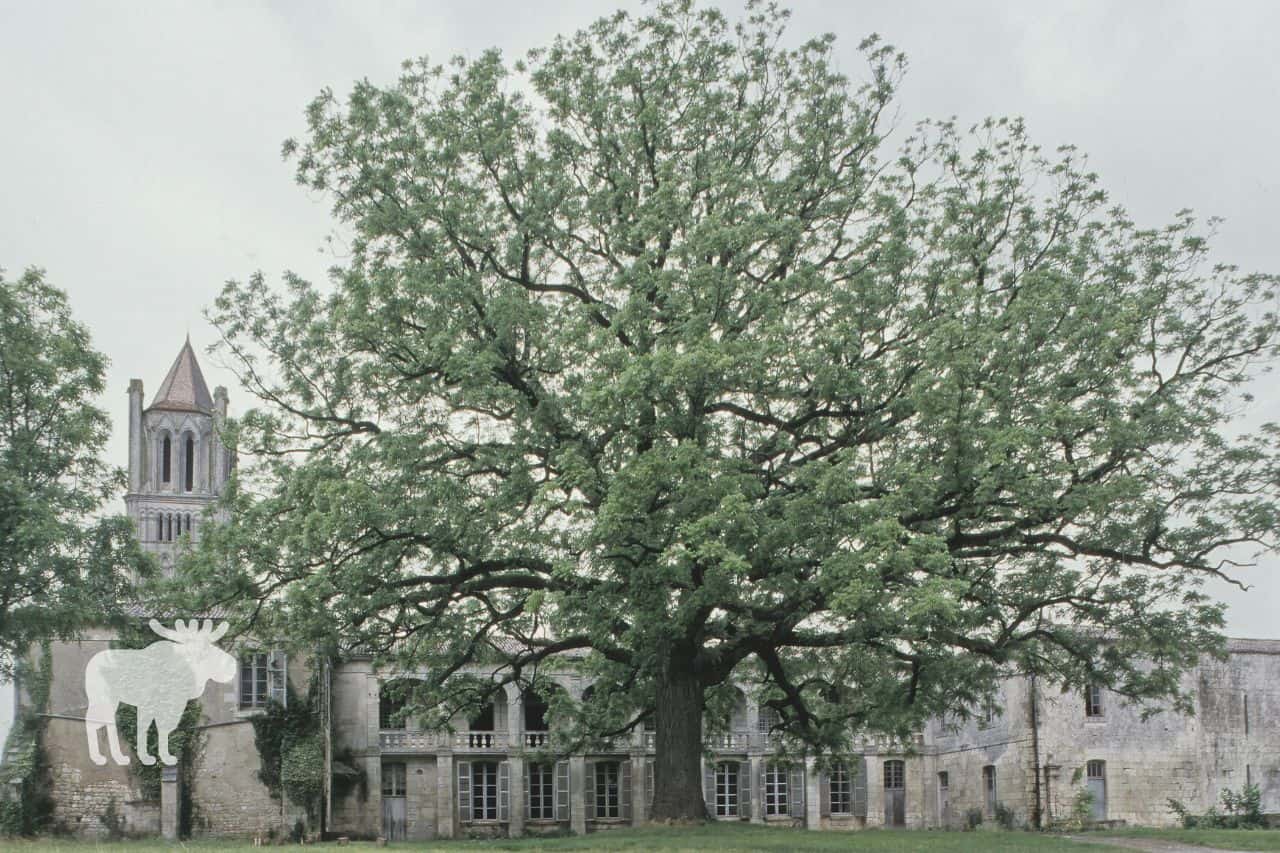
When deciding where to plant your seedling, keep in mind that the adult tree may grow up to 100 feet tall. It will also develop a spreading canopy that is nearly as wide as the tree is tall.
Make sure the tree will have plenty of room to grow and expand. You’ll also want to ensure that it receives at least 6 hours of full sun each day.
Finally, don’t plant walnut trees anywhere close to your garden. Many vegetables and ornamental plants are sensitive to the juglone that walnut trees produce and will die if exposed to this secretion.
Dig a Large Hole
Measure the length of the seedling and dig a hole that is ⅔ as deep as the tree is long. In other words, if your seedling is 21 inches tall, dig a hole that is 14 inches deep.
The hole does not need to be particularly wide–only 6 to 8 inches in diameter.
Plant the Tree
Dig a 6 to 8 inch circle around your seedling, digging down as deep as the hole you’re planning to put it in. Gently work the seedling out of the planter, preserving as much of the root ball as possible.
Place the root ball in the hole and cover it with the extra dirt you removed from the hole. Press the dirt firmly around the roots.
Water
Water in the seedling to release any air bubbles in the dirt. You will want to saturate the entire area during this first watering.
How to Care For Your Black Walnut Tree?
Black walnut trees grow easily and require little care. Let’s take a look at some tips you can follow to encourage your tree’s growth and health:
Pruning
Pruning isn’t necessary, but if you want to increase walnut production, you can cut off the top of the tree’s main stem each year starting when the tree is two years old. This will encourage a greater number of side branches, and the more side branches there are, the greater the tree’s potential for nuts.
Watering
Walnuts prefer moist but well-draining soil. If you live in a dry environment, make sure your tree receives about an inch of water each week.
There is no need to water if you receive rain on an ongoing basis. There is also no need to apply fertilizers to your tree.
Disease and Pests
Black walnut trees are subject to very few diseases and pests. However, if you suspect your tree may be losing its health, call a professional arborist to find out if the tree has been infected.
What Not to Plant Near a Black Walnut Tree
As mentioned earlier, many plants are sensitive to the juglone produced by black walnut trees. Here’s a partial list of plants you don’t want to plant near your walnut tree:
- Tomatoes
- Potatoes
- Blueberries
- Azaleas
- Hydrangeas
- Rhubarb
Conclusion
You can grow your own black walnut trees from seed by following the steps outlined in this article. Remember to allow your trees plenty of space, full sunshine, and keep them away from your garden!