If you’ve ever tried to shell a walnut, you know that it’s no easy task. Black walnuts are especially difficult. So, what’s the trick to it? In this article, we’ll talk about how to crack open a black walnut, as well as how to prepare your walnuts for shelling.
What You'll Learn Today
Shelling Black Walnuts: Step-by-Step
Did you know that shelling walnuts is just one part of a larger process? Before we talk more specifically about extracting the nutmeats from the shells, let’s take a closer look at the overall process of collecting, de-husking, shelling, and using your walnuts.
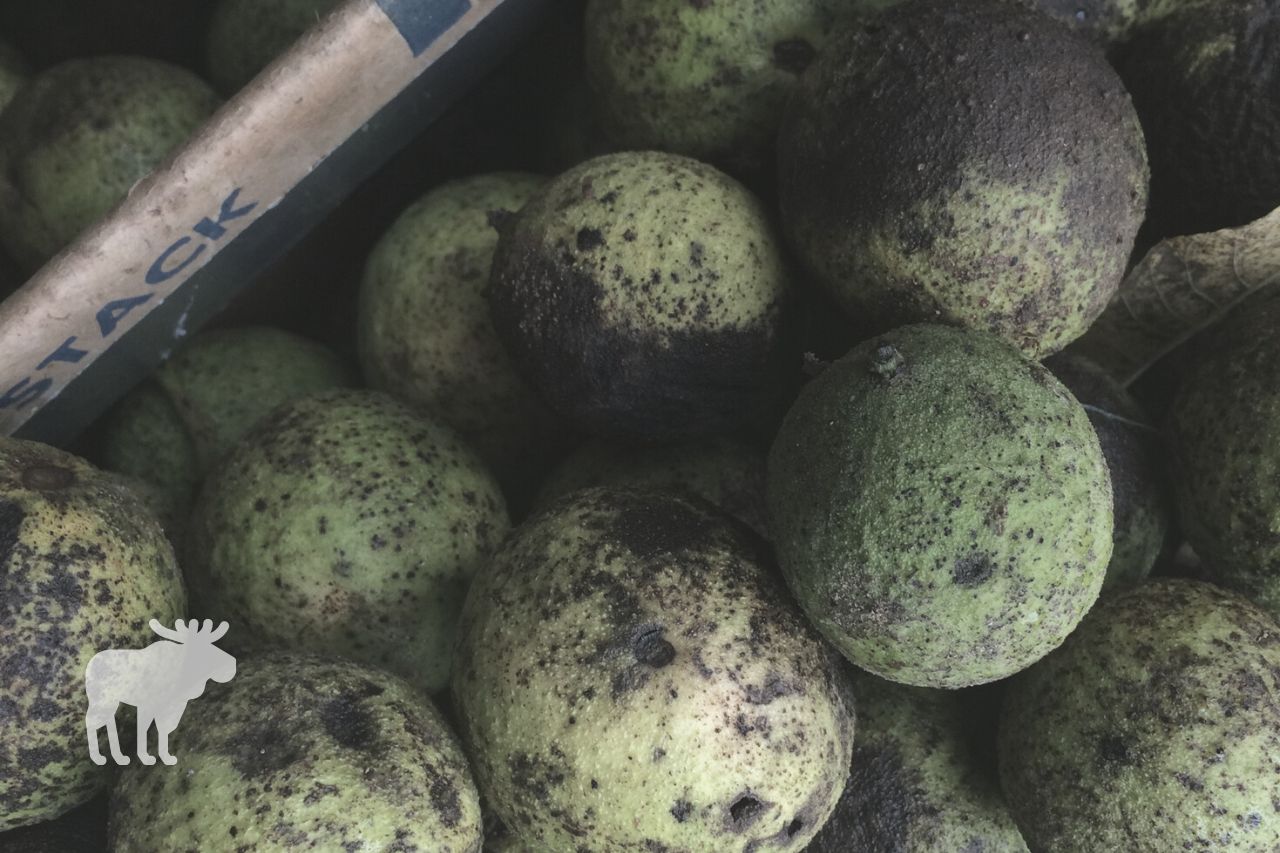
Collect the Walnuts
Chances are you won’t find whole black walnuts in the store. English walnuts are a much more popular commercial choice because they are much easier to open.
So, if you specifically want black walnuts, you’re going to have to collect them yourself. Maybe you have a black walnut tree in your yard or neighborhood and you don’t want all those fruits lying around on the ground to go to waste.
You’ll want to wear gloves while collecting the walnuts. The outer green husk can stain your hands yellow or black.
You can gather the walnuts from the ground, or you can harvest them from the tree–whichever seems easier and more likely to result in a good crop.
If you’re gathering walnuts from the tree, most of the nuts should still be good, but some of them may not be mature yet. Do not begin harvesting until the tree has begun dropping the nuts–usually late summer through late fall.
If you’re gathering walnuts from the ground, pick up each walnut and inspect it. If the green husk is still fairly intact and you can press your finger into it to make a dent, then the walnut inside is probably good.
Discard any walnuts that already have the husk broken off of them. Even if the husk is still in place, if it has turned black, the nut inside may be in the process of rotting or shriveling.
Remove the Outer Husks
Once you’ve collected your nuts, you’ll want to get rid of the green outer husk. There are several ways to do this:
- Roll each walnut over a hard surface beneath your foot. This should loosen the husk enough so you can peel it off.
- Roll each walnut between a couple of boards. This will have the same effect as rolling the nut between your foot and a hard surface, only it won’t stain your shoes.
- Place several nuts in a burlap bag, secure the opening, and whack the bag against a rock, driveway, stair, or other hard surface repeatedly. This will break off parts of the husk, allowing you to easily peel away the rest.
- Use a sharp knife to score the husk and pry away pieces of it.
- Place several nuts in a bucket of water and allow it to sit for 48 hours. This will saturate and soften the husks, making them easy to pull away.
Regardless of the method you use, continue to wear gloves for this step. The more the husk is damaged, the more staining dye will be released.
Wash the Nuts
Once all the walnuts are de-husked, place them in a bucket and fill the bucket with water. Remove and discard any that float to the top, then allow the remaining walnuts to sit in the water overnight.
By the next morning, the water will appear inky black. Drain off this old water, taking care not to get any on your clothes or skin–it will stain.
Refill the bucket with clean water and allow the walnuts to sit overnight again. Repeat this process of draining and refilling until the water in the bucket remains clear.
Dry the Nuts
Place the nuts in a single layer on foil- or parchment-lined baking sheets, then cover them with layers of paper towel.
Allow them to sit in a cool, dry, dark place for at least two weeks. This will help them to dry out, which will make them easier to shell when the time comes.
At this point, if you have a large crop, you could transfer them to crates or burlap bags and store them for up to two years. Whenever you want to use them, you can shell the amount you need and leave the rest for next time.
Crack the Black Shell
Once you’re ready to extract the nutmeats, you can use various methods to crack the hard, ridged shells. We’ll take a closer look at these methods in the next section.
Rinse and Roast the Nutmeats
Once you’ve extracted the nutmeats, they may be coated or mixed in with shell fragments and debris. To remove this debris, quickly rinse them under running water, or dunk them in a bowl of clean water.
You can eat them raw if you want, but most recipes call for roasted walnuts. To roast them, place them on baking sheets and add a bit of salt, if desired.
Bake them in an oven at 325 degrees Fahrenheit for about 15 to 20 minutes, or until they’ve reached your desired roast.
For a great visual on this entire process, check out the following video:
Cracking Black Walnut Shells: 5 Methods
The above process may seem long and daunting, but most of it is fairly easy. The hard part is actually getting the nutmeats out of the hard shells.
As they say, all is fair in love and war–and shelling black walnuts is war. You can use just about any method that works for you; there’s no right or wrong way to do it as long as you are able to avoid crushing the nutmeats in the process.
If you’re not sure what to try first, here are five methods that work well and require less effort (relatively speaking):
Use a Hammer
Place your walnut on a rock or other hard surface with the seam perpendicular to the surface. Take a hammer and gently tap the nut once or twice.
Turn it over and hit it from the other side.
Keep turning the nut and offering gentle hammer blows until the nut begins to crack at the seam.
Use a Nutcracker
You can’t use just any nutcracker for cracking walnuts. It’s recommended that you use either a hinged or screw-motion nutcracker–any other kind will likely break when you attempt to open a walnut with it.
To use a hinged nutcracker, place the walnut in the opening as close to the hinge as possible and squeeze hard. It will take a lot of grip strength to crack a black walnut with a hinged nutcracker, but it can be done.
To use a screw-motion nutcracker, place the walnut in the opening with the seam facing the screw. Tighten the nutcracker, allowing the screw to bore into the seam until the shell begins to crack.
Use a Sharp Knife
This is a dangerous method that should only be used with care. You’ll also want to make sure your knife is durable and high-quality so as to avoid breaking it.
Holding the walnut steady against a cutting board, carefully press the knife tip into the seam of the walnut. Wedge it down further into the seam, then begin to twist the knife back and forth.
This motion should loosen the seam and gradually spread it apart. Once the shell has popped open, you can extract the nutmeat from inside.
Again, be very careful with this method. It is quite easy for the knife to slip and cause injury.
Use a Freezer
Fill a resealable bag with as many walnuts as you plan to use and throw them in the freezer for several hours. The moisture in each nut will expand as it freezes, eventually causing the shells to crack open at the seam.
This is an especially good method if you plan to cook or bake with the walnuts. Once the nuts have thawed out, they will have a slightly soggy texture, so they won’t be as good for fresh eating unless you roast them first.
Use a Door Hinge
Open a door and place the walnut in the hinge. Close the door until you hear the shell of the walnut beginning to crack from the pressure.
Keep in mind that this method could damage your door hinges if they are of low quality. Be careful, and if you begin to notice any damage to your door or hinge, stop immediately and try another method for shelling your walnuts.
Conclusion
Black walnuts can be extremely challenging to shell, but if you follow the tips and methods outlined in this article, you’ll soon find yourself with a batch of tasty nuts that you collected, shelled, and roasted yourself.