Want to grow a chestnut tree or two? Maybe you’re hoping to start a grove of them to grow chestnuts as a cash crop. Or perhaps you’re simply curious. Either way, you’re wondering: what climate is best for chestnut trees? Do they need a lot of sunshine? What kind of soil do they grow best in? Keep reading. In this article, we’ll answer all of these questions and more.
What You'll Learn Today
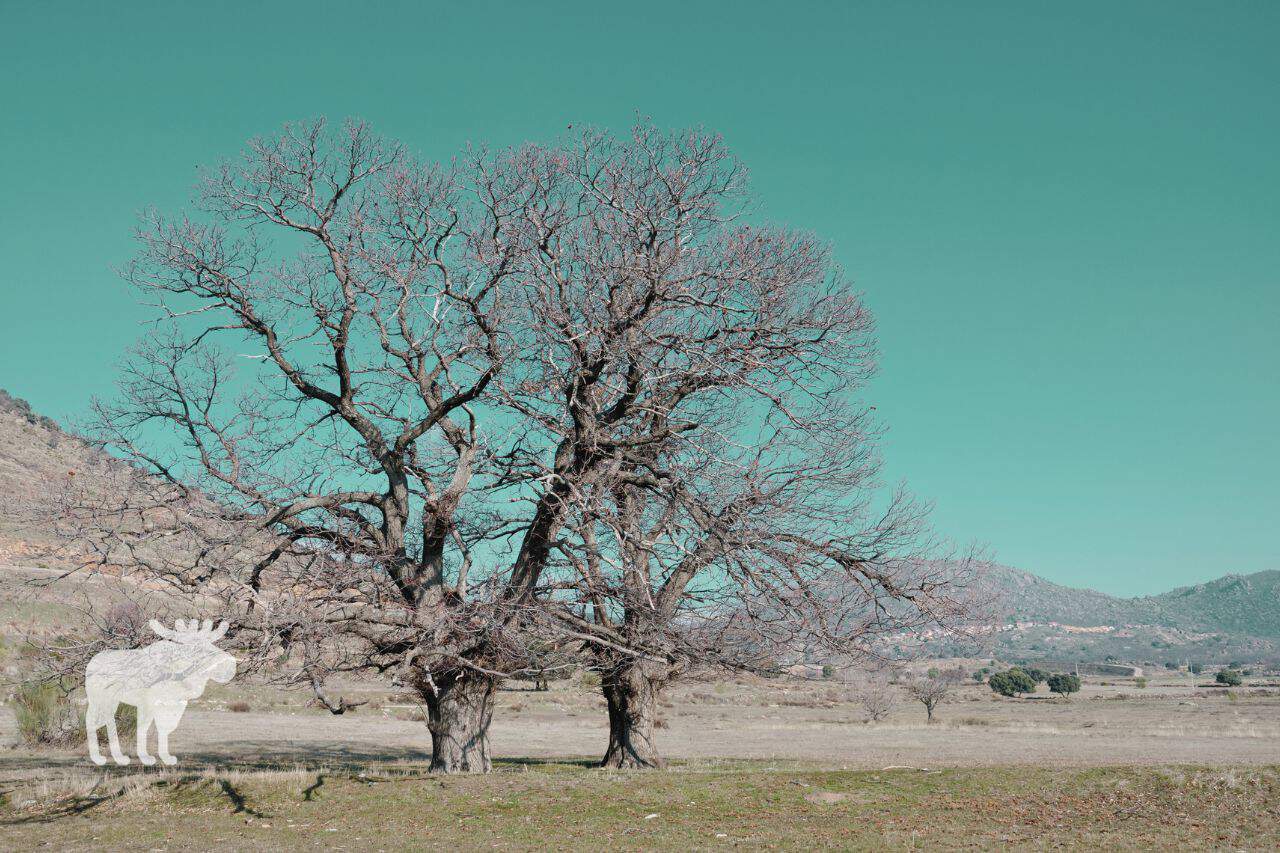
What Climate Is Best for Chestnut Trees?
Chestnut trees belong to the Fagaceae family, making them related to beech and oak trees. There are several species of chestnut, genus castanea, found growing in temperate regions of North America, Europe, and Asia.
With this in mind, chestnuts grow best in a temperate climate, where they receive plenty of rain and sunshine and experience four seasons. They do better in warmer temperate regions, though some species are more cold-tolerant than others.
Depending on the species, chestnut trees can grow in USDA hardiness zones 4 through 9. They are most common in zones 6 through 9.
Do Chestnut Trees Need a Lot of Sun?
Chestnut trees are sun lovers. In fact, one study revealed that young chestnut saplings grow more quickly if they receive higher levels of sunshine.
But just how much sunshine do they need to grow and thrive?
Though they will tolerate partial shade, chestnut trees prefer full sun–at least for part of the day. If you are planning to plant chestnut trees in your yard, you’ll want to make sure they receive about six hours of unfiltered sunlight daily.
Consider other trees and plants growing in your yard and try to choose a clear location without larger plants to block the sunlight.
Can Chestnut Trees Grow in Acidic Soil?
Different plants prefer different soil pH levels. Many need neutral or more alkaline soil, while others prefer more acidic growing conditions.
Where do chestnut trees fall on the spectrum?
Chestnut trees not only tolerate acidic soil; they thrive in it. The ideal soil pH level for these trees is 4.5 to 6.5.
They will not grow as quickly in soil that is more alkaline, and they may appear sick or malnourished, leaving them more vulnerable to disease.
Before planting chestnut trees in your yard, use a soil pH tester to find out if your soil is acidic enough for them.
If you need to increase the acidity of your soil, check out the following video:
How Do You Grow a Chestnut Tree?
Now that you know more about the ideal growing conditions for chestnut trees, you may be wondering how to grow them in your own backyard. Follow the steps below to find out how to grow a chestnut tree from seed (or skip to Step 4 if you already have a sapling):
Step 1: Stratify Your Seeds
To give your seeds the best chance of germinating successfully, you’ll need to mimic the conditions they would experience in the wild, where they sit in the soil through the winter before growing in spring.
Place chestnut seeds in a resealable bag with moist peat moss, vermiculite, sand, or sawdust. Seal the bag and use a toothpick to poke several holes in it; this will help with air circulation.
Place the bag of chestnuts and medium in the coldest part of your fridge, and make sure it is nowhere close to pears or apples; these fruits produce ethylene, which may impact how and when your seeds sprout. The chestnuts should be stratified at temperatures of 32 to 34 degrees F.
Check the chestnuts about once a week to make sure they are not rotting. If any of them show signs of rot, remove them immediately.
Seeds should begin to sprout within 60 to 90 days.
Step 2: Transplant Seedlings
Once your seeds begin to sprout, you can either direct seed them in your yard or transplant them into pots indoors. Transplanting them indoors gives them the best chance of survival and allows them to grow larger before you plant them outside.
To plant them inside, choose tall pots, as chestnut seedlings produce long taproots. Fill the pots with a mix of moist (but not wet) vermiculite, peat moss, and perlite.
Make a six-inch hole in the vermiculite mixture and fill the hole with potting mix. Place one sprouted seed per pot about an inch down in the potting mix, then cover with the vermiculite mixture.
Place the pots in a sunny window. Keep the soil and vermiculite mixture damp, but be careful not to overwater, as this may cause your seedlings to rot.
Keep your plants indoors until they are several inches tall.
Step 3: Harden Off Young Saplings
In the spring, you’ll want to begin acclimating your saplings to the harsher conditions of an outdoor environment. Do this slowly and gently over a period of at least two weeks.
Move your saplings to a sunny porch or sheltered outdoor spot. Leave them there for no more than a few hours the first day, gradually increasing the amount of time you leave them outside to help them build up a tolerance for cold temperatures and windy conditions.
Step 4: Plant Your Saplings Outside
Once your saplings have been thoroughly hardened off, they are ready to be planted in their permanent spots outside. The best time for transplanting is after the last chance of frost, usually early to mid May depending on where you live.
Choose a spot that receives plenty of sunlight and has plenty of room. Many chestnut tree varieties grow up to 100 feet tall with up to a 60-foot spread, so keep this in mind as you choose a planting location.
Another thing to consider is that chestnut trees cannot self-pollinate. If you hope to have good nut production when the tree matures, you’ll need to plant a second chestnut tree within 200 feet.
Finally, the tree will do best when grown in loose, loamy soil that drains well and is the appropriate pH.
Once you’ve chosen your ideal location, dig a hole about twice as large as your sapling’s root ball, and loosen the sides of the hole for good aeration. Place the root ball in the hole, making sure to cover only the roots and none of the trunk with soil.
Press the soil down and water in your sapling well.
Step 5: Chestnut Tree Care
Your young trees will still need plenty of care as they grow and become established. Water them thoroughly every two to three weeks; during periods of drought, you may need to water more often.
Using a soaker hose or drip irrigation system is the best way to water your trees, as you don’t want the soil to become overly wet or waterlogged.
If your soil conditions are less than ideal, consider applying a granular nitrogen fertilizer about once a year, following the directions on the package. Apply this fertilizer no later than July.
Keep the weeds down in a three-foot radius around your tree to help it become established and encourage nut production later on. Don’t weed-whack too close to the trunk, however, as this could produce wounds that could weaken the tree.
Prune your trees over the first few years to help them grow into the proper shape. To learn more about pruning chestnut trees, check out the following video:
Conclusion
Chestnut trees grow best in warm temperate climates and can be found in USDA hardiness zones 4 through 9. If you live in one of these types of climates, follow the steps above to grow your own chestnut trees.