Do you have owls living in your area? Perhaps you would like to attract them to your property and watch them raise their young. Setting up a nesting box may be the perfect solution. Keep reading to learn how to make an owl nesting box and how to attract owls to it.
What You'll Learn Today
- How Do You Make a Nesting Box for an Owl?
- 1. Measure and cut your pieces from the pine board
- 2. Use the circular saw to cut out a hole in the front piece
- 3. Nail your cleat pieces to the bottom of the side pieces
- 4. Nail the side pieces to the back piece
- 5. Nail the front piece
- 6. At this point, screw everything together
- 7. Set the floor piece in place
- 8. Lastly, fit the top piece into place
- 9. Mount the box on the trunk of a tree
- What Direction Should an Owl Nesting Box Face?
- How Deep Should an Owl Nesting Box Be?
- How Do You Attract a Barn Owl to a Nesting Box?
- Conclusion
How Do You Make a Nesting Box for an Owl?
For a great visual on this nesting box method, check out the following video:
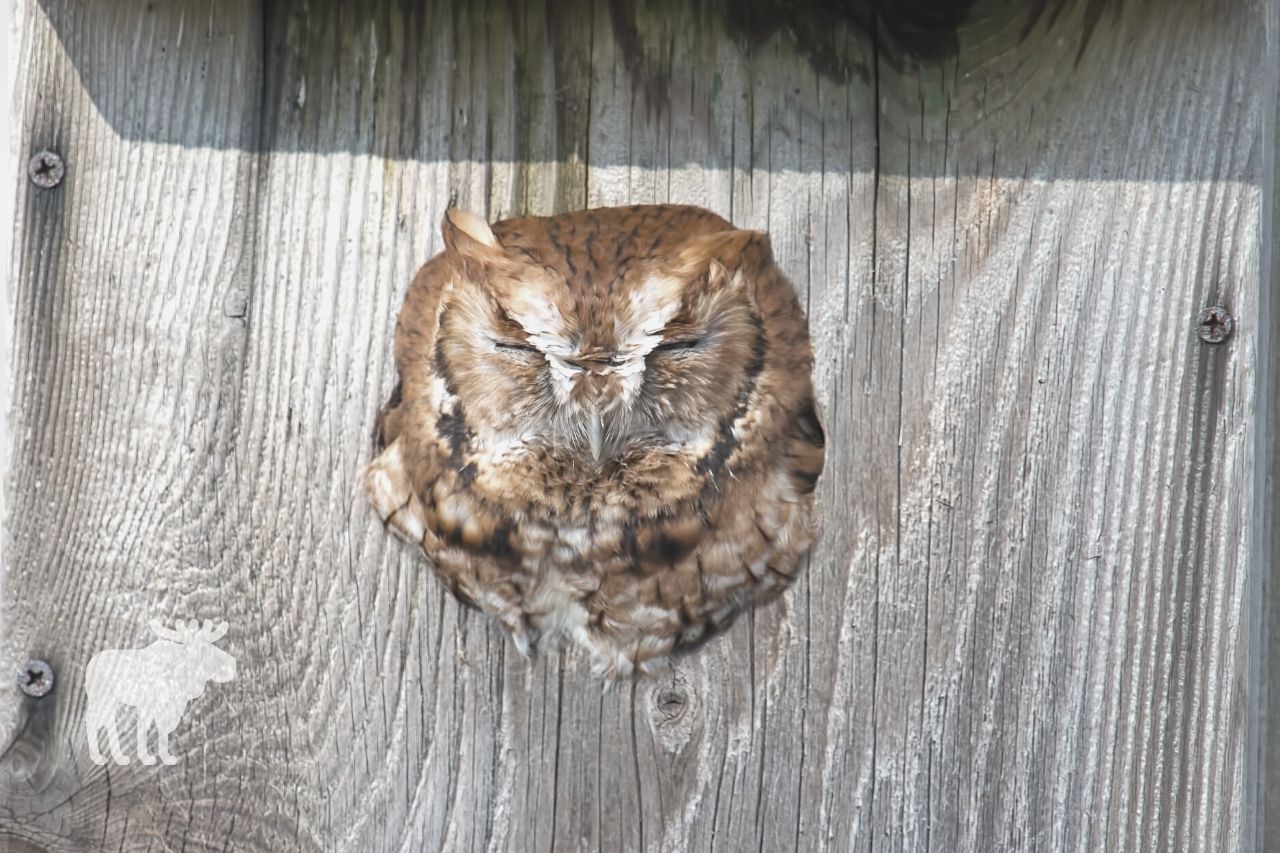
The type and size of nesting box you need will depend on the types of owls you have in your area. This nesting box is the perfect size for smaller owls such as screech owls.
Before starting, you’ll want to collect your tools and materials:
- 8 foot by 1 foot pine barn board or similar piece of wood
- Wood saw
- 3-inch circular drill saw
- Tape measure
- Pencil
- Nail gun and nails
- Screw gun and screws
Next, follow these steps:
1. Measure and cut your pieces from the pine board
You will need the following pieces with the following dimensions:
- One back piece: 27 ½ inches long by 10 inches wide
- Two side pieces: 18 ½ inches long at the front, 22 ½ inches long at the back (22 ½ degree angle at the top), 10 inches wide
- One front piece: 18 ½ inches long by 9 inches wide.
- One floor piece: 8 ⅞ inches square
- One roof piece: 14 inches long by 10 inches wide, 22 ½ degree angle cut at top end
- Two cleat pieces: 9 inches wide and 1 inch long
2. Use the circular saw to cut out a hole in the front piece
It should be about 9 to 10 inches from the bottom of the board.
On the board’s underside, use the power saw to create scores in the wood. Do not cut all the way through; you are simply creating footholds for young owlets to climb up when they are old enough to leave the box.
3. Nail your cleat pieces to the bottom of the side pieces
The cleat pieces are 1 inch shorter than the width of the side pieces; place the cleats all the way to the backs of the side pieces (the long ends) so the gap will be at the front (the short ends).
4. Nail the side pieces to the back piece
Allow a ¼-inch reveal on either side of the back piece. Set only as many nails as you need to hold the pieces in place; later, you will use a screw gun and screws to secure the pieces more permanently.
5. Nail the front piece
It should rest inside the side pieces and in front of the cleat pieces at the bottom of the sides. Nail the front piece into place.
6. At this point, screw everything together
The screws will hold everything in place more permanently than the nails will.
7. Set the floor piece in place
it should be ever so slightly smaller than the dimensions of the floor area. It will rest on top of the cleat pieces so that it can be pushed up from the bottom, which will make for easier cleaning of the box.
If necessary, set some screws just above the floor piece to hold it down so racoons or other creatures can’t push it up. When it comes time to clean the box, simply remove screws so you can lift up on the floor.
8. Lastly, fit the top piece into place
First securing it with nails, then adding a screw to secure it at each corner.
9. Mount the box on the trunk of a tree
Make sure it isn’t too close to the house or any high-traffic areas. Secure it to the tree by screwing at the top and bottom.
What Direction Should an Owl Nesting Box Face?
When deciding where to mount your owl box, the most important thing is to keep it from facing into the prevailing winds. For this reason, it’s usually considered the best option to face it toward the south and east.
That said, this is not an exact rule and there is a lot of disagreement on the topic. Some experts agree that the direction of the box doesn’t really matter.
The basic idea is for your nesting box to provide shelter for the owls, and in most areas, they will be most sheltered from the wind if the box is facing away from the north.
How Deep Should an Owl Nesting Box Be?
The nesting box above is about 9 to 10 inches deep from the hole to the floor. But there are many different owl species of different sizes, so not every nesting box is going to be identical.
Larger owl species may need deeper boxes, while smaller species may need shallower boxes. Still other species may need deeper or more shallow boxes regardless of their size.
As a general rule of thumb, think about the average size of the owl and make the depth of the box a few inches less.
For example, screech owls are about 10 to 12 inches tall, and the hole in the above box is 9 to 10 inches from the floor. So if your owl is, say, 18 inches tall, the hole should be about 14 or 15 inches from the floor.
Regardless of the exact dimensions, your owl box should be deep enough to allow the adults in and out easily but keep the owlets in until they are old enough to climb out. You don’t want the box to be so shallow that infant owlets go tumbling out through the hole.
How Do You Attract a Barn Owl to a Nesting Box?
Barn owls can be difficult to attract but are one of the more popular owl species to have around. They are great for controlling rodent populations on your property and will not damage crops or interfere with livestock.
So how do you attract them to your area?
According to the University of Missouri Extension, place your barn owl nesting box or boxes about 12 feet high in low-traffic areas. Old barns and unused silos work as good as mounting the boxes on trees or on poles.
Clean each box between nesting families, especially during late fall and early winter, but be careful not to disturb the owls while there is a family activating living in the box.
Do not try to rid your property of mice, rats, voles, or other rodents, and especially do not use chemicals to kill or control them. Barn owls eat mostly rodents, so poisoning their food source will not only give them less incentive to come around, but may lead to indirectly poisoning any owls that eat a poisoned rodent.
Place barn owl boxes near fields or meadows where the owls will have easy access to their prey. They are more likely to come around and build a nest in your box if it is situated in an environment favorable to their needs.
Check out the following video to learn more about building nesting boxes for barn owls.
Conclusion
Owls come in many shapes and sizes; and the types of boxes they may use for nesting are just as diverse.
If you’re building a nesting box for the first time, you may want to start with something simple, such as the screech owl box described at the beginning of this article.
If there are no screech owls in your area, or you’re trying to attract another type of owl, research that owl in particular to learn how to tailor your nesting box to a specific breed.
A very clear and detailed guide. I’ll definitely try it, than you for sharing.
Thank you for the video and directions for building this style of owl nesting box.