Rattlesnakes can be frightening creatures–their venom can cause serious neurologic symptoms and even death. And yet, the patterns on their back are intriguing–some might even say beautiful. So, perhaps you found a recently-dead rattlesnake, or you found their shed skins in your yard; is there a way to preserve some of its beauty? What if you found a nice specimen of a rattlesnake’s shed skin and want to save it? Keep reading! In this article, we’ll discuss how to preserve rattlesnake skin.
What You'll Learn Today
How Do You Preserve a Rattlesnake Skin?
Some people will hunt rattlesnakes for meat (please don’t!); others kill them to protect themselves, their kids, or their pets from being bitten. Whatever the reason, you have a dead but largely undamaged rattlesnake on your hands, and you would like to find a way to remove the skin and preserve it.
That’s what we’re going to talk about in this section.
Step 1: Gather Your Materials
In addition to a lot of patience, you will need to collect several items to preserve your snake skin. These items include:
- Sharp knife
- Scalpel or razor blade
- Glycerin
- Rubbing alcohol
- Large board or cutting board
- Small nails or staples
- Large bowl or jar
Step 2: Skin the Snake
To remove the skin from the snake, you may first want to remove the head so you don’t accidentally jab yourself with the fangs. Though the snake is dead, the fangs may still contain enough venom to send you to the hospital.
Once the head is removed, use the scalpel to create a clean cut down the center of the belly from the neck to the tail. Remove the rattle.
Gently pull each side of the skin toward the snake’s back, separating it from the flesh underneath. Turn the snake over and, working from the neck to the tail, continue pulling the skin away from the flesh until it is completely removed.
Be careful not to tear the skin as you work. It should be soft and flexible, but it will tear easily if you become impatient and pull too hard.
Step 3: Flesh the Skin
Fleshing a snakeskin means removing any bits of flesh that may have clung to the skin as you removed it. These bits of flesh must be removed before you can preserve the skin.
Using your sharp knife, carefully scrape along the length of the snakeskin, starting at the head end and working toward the tail. This is a tedious process; you must work slowly and carefully to avoid poking or tearing holes in the skin.
Step 4: Soak it in Preserving Solution
Place the snake skin in a large bowl or jar and cover it with equal parts glycerin and rubbing alcohol. These ingredients create an ideal preserving solution that will keep your snake skin in good shape while maintaining its soft pliability.
Leave the skin in the solution for 2 to 3 days, stirring it around at least once or twice a day to make sure the entire skin gets coated in the liquid.
Step 5: Allow it to Dry
Remove the skin from the solution. It will be a little hard and stiff but should still be pliable enough to lay flat and smooth the wrinkles out of it.
Shake off some of the excess liquid and allow it to drip-dry on a line or coat hanger. You don’t need to let it dry completely just yet, so you should only let it drip dry for an hour or two at most.
Double-check that there are no pieces of flesh still clinging to the underside of the skin. If there are, gently scrape these away with your knife.
Step 6: Tack it to a Board
Working with one small section at a time, stretch out the snakeskin and staple or tack it to a board, flesh side up. Be careful not to overstretch or tear it.
This is the time to really let the skin get good and dry. Place it in a dry room or basement with plenty of ventilation; you may want to run a dehumidifier to help the drying process along.
Allow the skin to dry for about 2 weeks.
Step 7: Rub Glycerin on the Skin
After the skin is completely dry, put a small amount of glycerin on a cloth or rag and gently rub it over the flesh side of skin. You don’t need to use a lot; just enough to gently coat it and add an extra layer of preservation.
Remove the staples from the board and the skin, being careful not to tear the skin. Carefully remove the snakeskin from the board.
Step 8: Create Your Final Piece
The skin is now ready to be displayed. One way to do this is to place it, skin side up, on a decorative board or wall-hanging.
Use some decorative tacks to secure the skin to the board; alternatively, you can glue it to the board. If you’re gluing it, allow it to dry completely before hanging it on the wall.
Check out this video to get a good visual of this snakeskin preservation method:
How Do You Preserve a Shed Snake’s Skin?
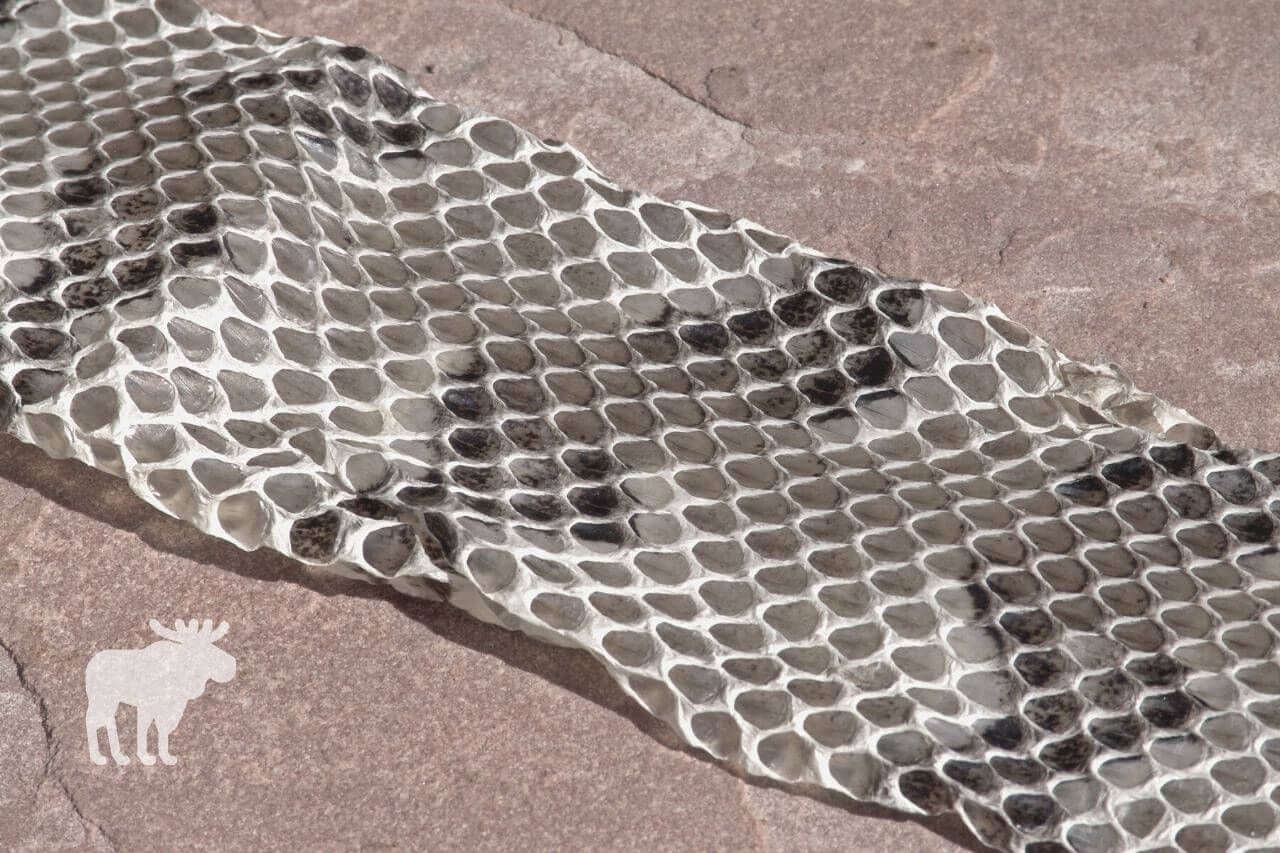
If you have a lot of rattlesnakes in your area, you may find their shed skins in your yard from time to time. If you find a particularly good specimen, you may be wondering if it’s possible to preserve the shed.
Preserving skin sheds from snakes is actually quite easy, though it may take some practice to really master the techniques. We’ll discuss the basic process in this section.
Step 1: Moisten the Skin
Chances are, when you find the skin, it will already be dry and very fragile. To make it easier to work with, use a spray bottle to moisten the entire skin with water.
The skin doesn’t need to be soaking wet; simply moisten it so it becomes more flexible and less paper-like.
Step 2: Cut Open the Skin
Lay the skin out on a long table or work surface, belly side up. You can tell the belly scales apart from the back scales because they will look like horizontal bands.
Smooth the skin flat, carefully working out the wrinkles without tearing the skin. Then, locate the cloaca opening near the tail.
Insert your scissors in this opening and make a straight cut up the center of the belly. Once you reach the head, continue the cut up the center of the chin and jaw, completely opening it up.
Turn the skin over so the back is on top and the belly is opened flat on either side. Carefully smooth it out.
Glue the skin to a wall hanging or large piece of cardstock. Allow the glue and the damp skin to dry completely in a cool spot out of direct sunlight.
Step 3: Laminate the Skin
Once the skin and board are completely dry, you can laminate them to seal the skin inside a protective covering. The board is then ready to be mounted on the wall or displayed however you choose.
Check out this video for a visual on the process:
Conclusion
Rattlesnake skins are uniquely patterned and can make for interesting works of art. Whether you’re skinning a recently-killed snake or collecting a shed skin specimen from your yard, follow the steps outlined in this article to preserve your snakeskin for years to come.
Can you use a Glycerin and alcohol tanned snake skin on a bow backing if so how to get the skin dry so that contract cement glue will stick to the skin.
Can salt be used to dry the rattlesnake skin